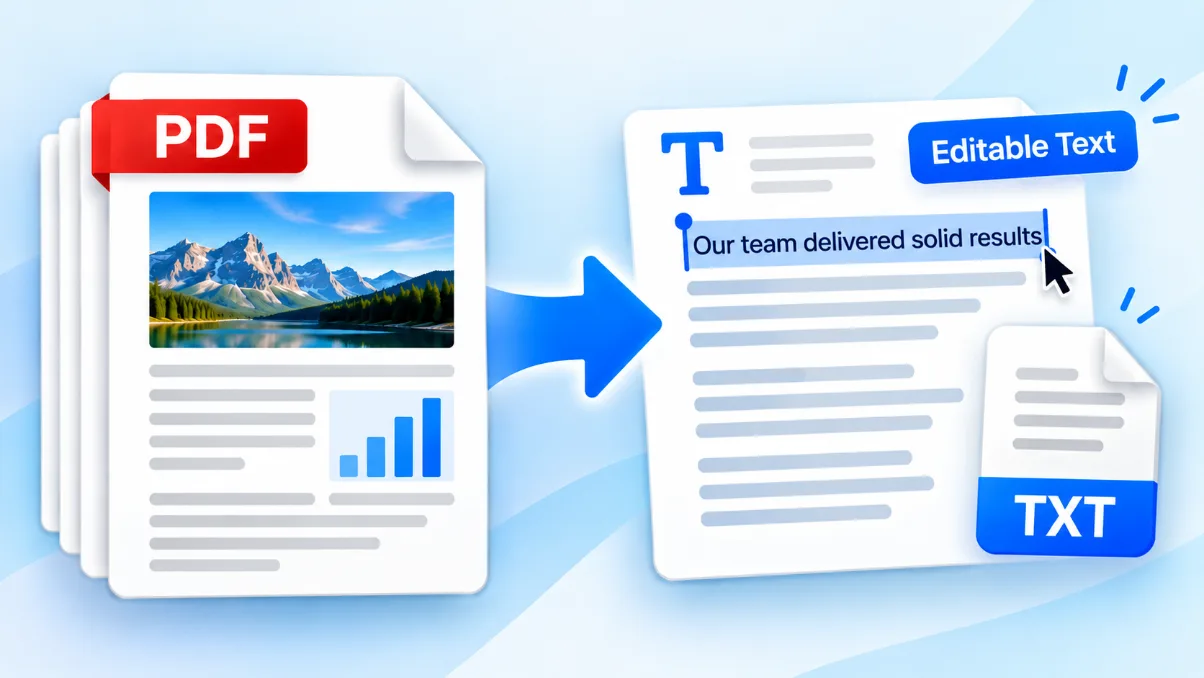
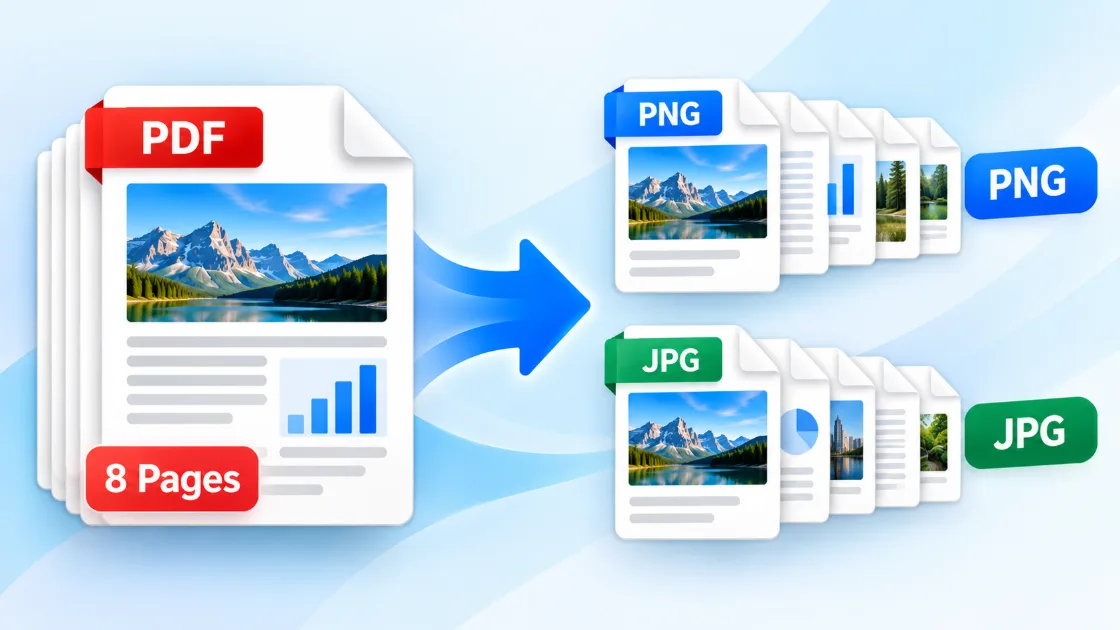
A PDF is convenient for keeping a document’s layout intact, but it is not always the easiest format to place in a presentation, publish on a website, or share in a messaging app. In those situations, saving each PDF page as an image can be more practical.
The PDF to Images Converter turns every page of a PDF into a separate PNG or JPG file. You can choose the output format and resolution, preview the converted pages, download individual images, or save the complete set in one ZIP file. Conversion happens locally in your browser, so the document does not need to be uploaded to a server.
What happens when you convert a PDF to images?
A PDF page can contain text, photographs, vector graphics, forms, and other elements. During conversion, the complete visible page is rendered into a flat image. The result looks like the original page, but its text and other elements become pixels rather than separately selectable content.
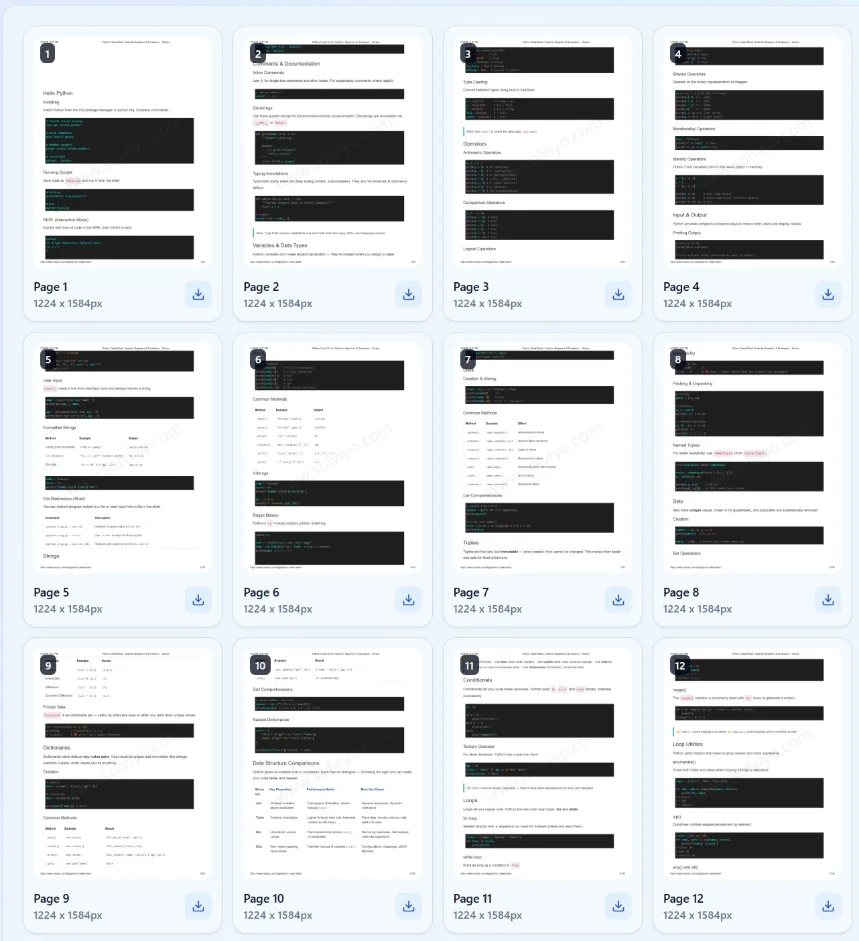
Each page produces its own image. A 12-page PDF, for example, produces 12 PNG or JPG files. Portrait and landscape pages retain their original proportions instead of being forced into one fixed shape.
This is useful when you need to:
- place a PDF page in a slide or another document;
- share individual pages through email or messaging apps;
- publish a page preview on a website;
- create image thumbnails from a document;
- open a PDF page in an image-editing application; or
- save a visual copy that cannot be selected like regular PDF text.
How to convert PDF pages to JPG or PNG
- Open the converter. Go to the PDF to Images Converter.
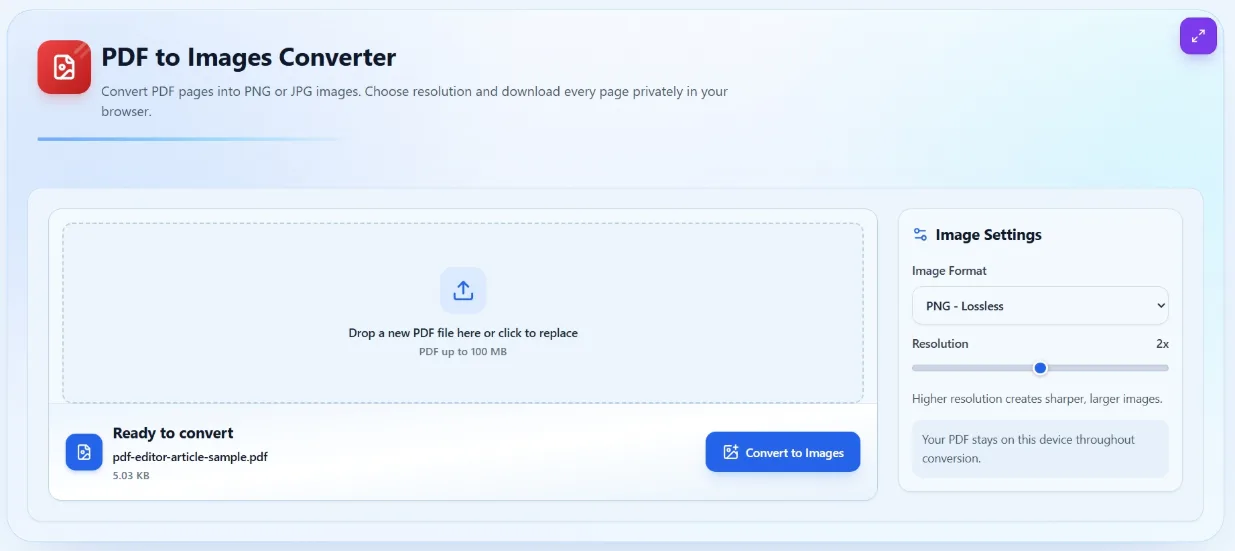
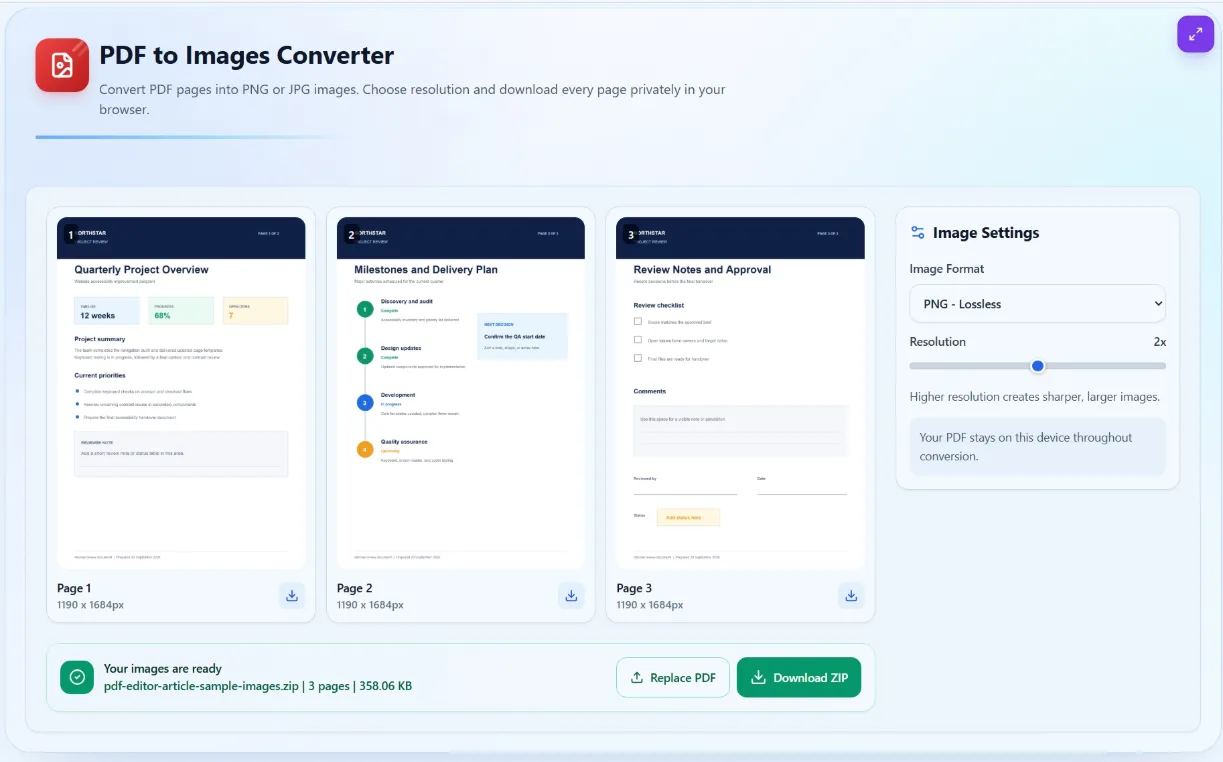
- Select your PDF. Drag the file into the upload area or browse your device. The tool accepts one PDF up to 100 MB.
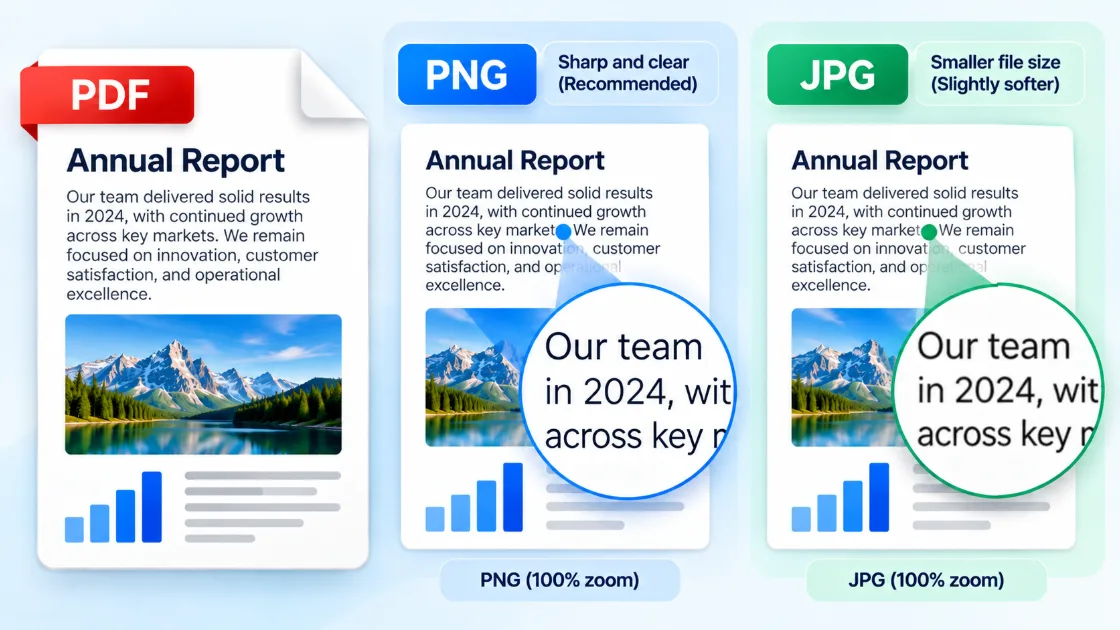
- Choose PNG or JPG. Select PNG when sharp text and graphic edges matter most. Choose JPG when you prefer smaller files or the pages contain mostly photographs.
- Set the resolution. Choose a scale from 1× to 3×. A higher setting creates larger pixel dimensions and a sharper result, but it also increases processing time, memory use, and download size.
- Adjust JPG quality if needed. When JPG is selected, a quality control appears. Higher quality retains more detail, while a lower setting creates smaller files.
- Convert the PDF. Select Convert to Images. The browser renders every page using your settings and reports its progress.
- Review the results. Check the previews and pixel dimensions, paying particular attention to small text, charts, and thin lines.
- Download the images. Save a single page from its preview card or select Download ZIP to get the complete set.
Should you convert a PDF to PNG or JPG?
PNG and JPG can both reproduce a complete PDF page, but they handle visual information differently. The better choice depends on what appears in the document and how the images will be used.
| Consideration | PNG | JPG |
|---|---|---|
| Best suited to | Text, forms, charts, diagrams, slides, and interface captures | Photographs, scanned magazines, and visually complex pages |
| Compression | Lossless | Lossy with adjustable quality |
| Fine text and lines | Usually retains crisp edges | May show soft edges or artifacts at lower quality |
| Typical file size | Larger, especially for photographic pages | Usually smaller |
| Good starting choice | Documents dominated by text or graphics | Pages dominated by photographs |
For a report, invoice, form, or slide deck, PNG is usually the safer starting point because it preserves hard edges cleanly. For a scanned brochure or photo-heavy document, JPG can considerably reduce the download size.
For a broader comparison that also covers WebP, read JPG vs PNG vs WebP: which image format should you use?
Choosing the right image resolution
The resolution setting controls how many pixels are used to render each PDF page. It does not change the proportions of the page. Instead, increasing the scale produces a wider and taller image with more detail.
| Resolution | Good for | Trade-off |
|---|---|---|
| 1× | Thumbnails, quick previews, and small on-screen images | Small text may look soft when enlarged |
| 1.5×–2× | Presentations, readable page images, and everyday sharing | Balanced clarity and file size |
| 2.5×–3× | Detailed diagrams, cropping, zooming, and higher-quality output | Larger files and greater browser memory use |
The default 2× setting is a sensible choice for most documents. Move higher when the page contains small print or viewers will zoom in. If the image will only be shown as a small preview, 1× may be enough.
Pixel dimensions and DPI are often confused. For images viewed on a screen, the exported width and height in pixels usually matter more than a DPI label. See What Is Image Resolution? DPI vs Pixels Explained Simply for a closer explanation.
How JPG quality affects the result
The JPG quality slider controls how strongly each page image is compressed. A high setting keeps more fine detail but produces a larger file. A lower setting saves space, although letters, thin rules, and diagrams may begin to look blurred or develop visible artifacts.
Start near the default 90% quality and inspect a page containing the smallest text in the document. If it remains clear, you can try reducing the quality. Judging only a cover with a large title may hide problems that become obvious on denser pages.
PNG does not display a quality slider because it uses lossless compression. Changing from JPG to PNG may increase file size, but it avoids quality loss caused by JPG compression.
Converting only selected PDF pages
The converter processes every page in the document. If you only need certain pages, prepare a smaller PDF first instead of converting unnecessary pages.
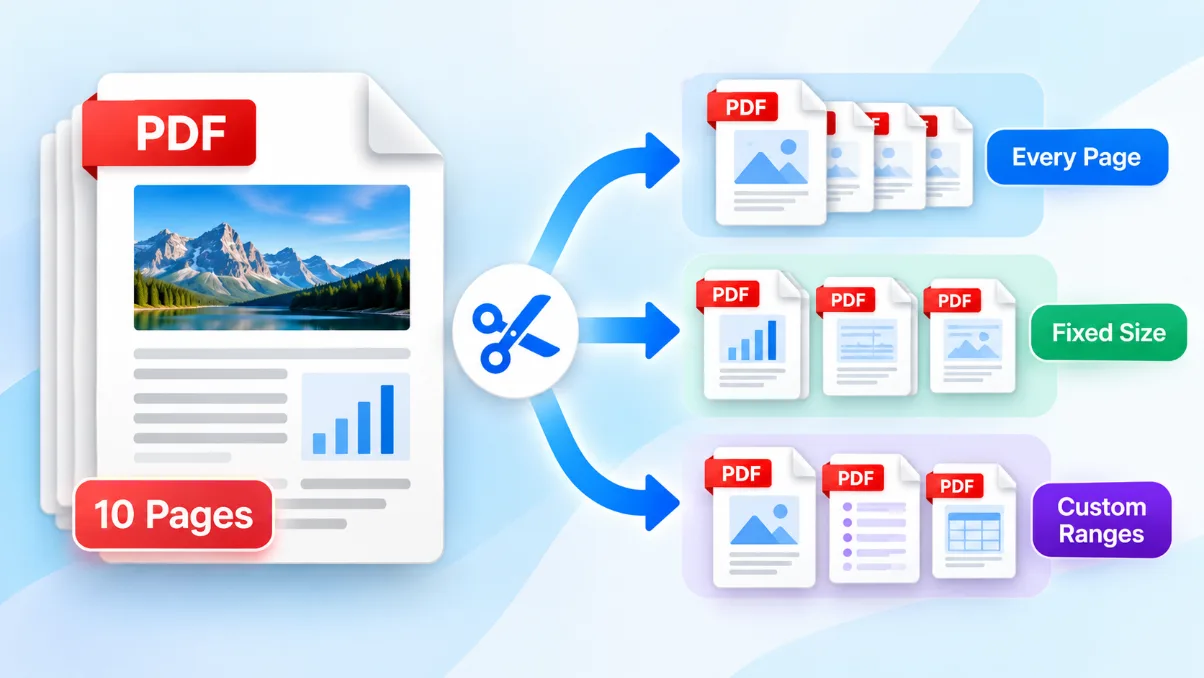
Use the Split PDF tool to extract a custom range such as pages 3–5 or to separate every page. The guide to splitting a PDF into separate pages or files explains the available modes. After creating the smaller PDF, return to the image converter and export those pages.
How to keep converted page images clear
- Check the source PDF first. Increasing output resolution cannot restore detail already missing from a blurry scan.
- Choose PNG for small text. It avoids the blockiness and soft edges that heavy JPG compression can introduce.
- Use a higher scale before cropping. Cropping removes pixels, so beginning with a larger image leaves more detail.
- Inspect more than one page. A PDF may contain clean digital pages alongside low-resolution scans.
- Open a downloaded file at full size. A reduced browser preview may not reveal its actual sharpness.
Reducing the size of the converted images
Converting a long PDF at high resolution can produce a large ZIP archive. If the images are clearer than necessary, reconvert at a lower scale or reduce JPG quality slightly.
If you have already downloaded the pages and want more control, process them with the Image Compressor. For a smaller source document that should remain a PDF, use the PDF Compressor instead.
Avoid repeatedly saving the same page as JPG because every additional lossy compression pass can reduce clarity. Where possible, return to the PDF and create a fresh export with the desired settings.
Check the images before using them
Before publishing, sending, or placing the images in another document, open a few downloaded pages and confirm that:
- the page order matches the original PDF;
- portrait and landscape pages have the correct orientation;
- small text remains readable;
- charts and thin lines have not become blurred;
- the selected format is accepted by the destination; and
- the files do not reveal confidential information that should have been removed.
Converting a page into an image changes how it is packaged, not what is visibly present. Complete secure redactions in the source document before conversion; simply covering sensitive text with a temporary annotation is not necessarily a safe redaction method.
Turn your PDF pages into downloadable images
When you need a PDF page for a slide, website, preview, or message, converting it to an image removes the need for the recipient to open the full document. Choose PNG for crisp text and graphics, or JPG for smaller photo-heavy pages. Then select a resolution that matches the final use instead of automatically choosing the largest output.
Open the PDF to Images Converter, choose your settings, and download one page at a time or save the complete set as a ZIP.