A PDF does not always need to be printed before it can be signed. If the document only requires a visible signature, you can place one directly on the appropriate page and download a new signed copy.
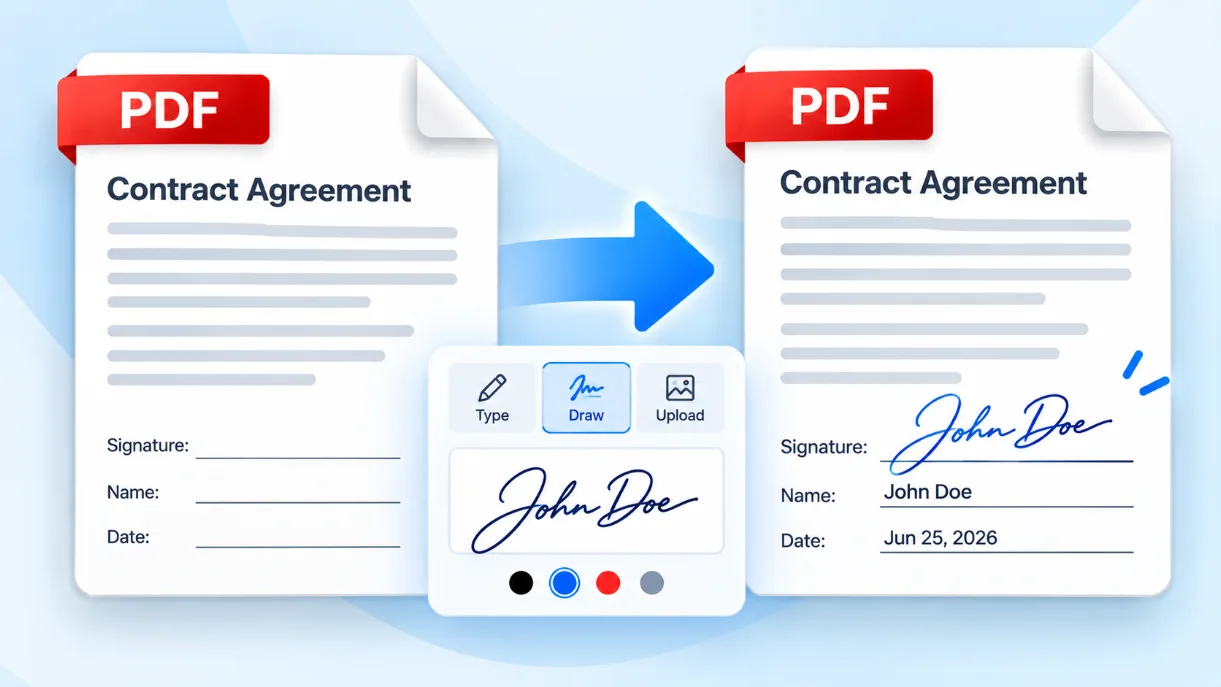
The Solvioza Sign PDF tool gives you three ways to create a signature: type your name in a signature-style font, draw it with a mouse or touchscreen, or upload an existing PNG or JPG signature image. You can also add names, dates, custom text, and stamps before downloading the result.
This guide explains how each signature method works, how to place a signature accurately, and what to check before sending the completed PDF.
Choose how you want to create your signature
The best method depends on your device, the document, and whether you already have a signature image.
| Signature method | How it works | Best suited to | What to consider |
|---|---|---|---|
| Type | Enter your name and select a signature-style font and color | Quick forms, approvals, and documents that need a neat signature | It represents your name but will not look like your usual handwriting |
| Draw | Write your signature on the drawing pad with a mouse, touchscreen, or stylus | Creating a handwritten-style signature without preparing an image | A mouse may be less precise than a touchscreen or stylus |
| Upload | Upload and crop an existing PNG or JPG signature image | Reusing a signature you have already prepared | A clean image with little surrounding space produces the best result |
Typing is usually the fastest method. Drawing feels more personal, while uploading gives you the most consistent result when the same signature is used on several documents.
How to add a signature to a PDF
- Open the signing tool. Go to the Sign PDF tool.
- Add your PDF. Drag the file into the upload area or choose it from your device. You can add up to 10 PDF documents, with a maximum size of 100 MB for each file.
- Find the signature page. Use the document and page controls to locate the line or box where the signature belongs.
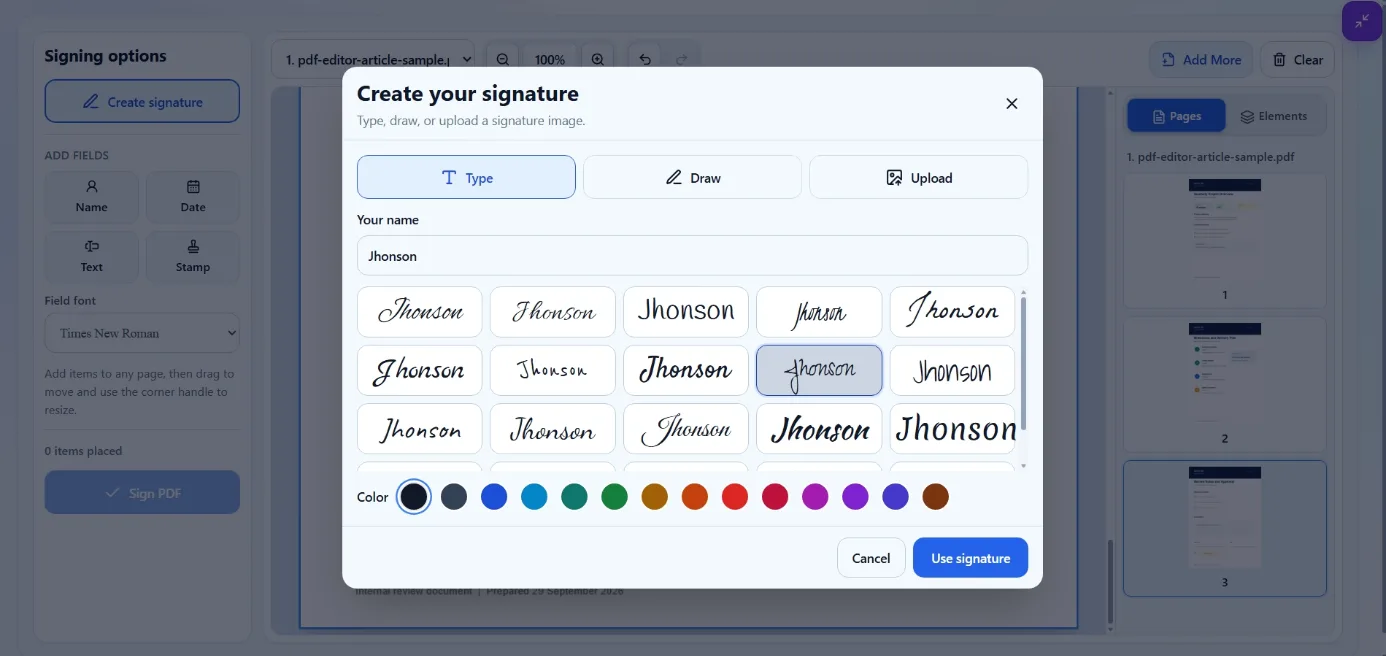
- Create your signature. Choose Type, Draw, or Upload and prepare the signature using the instructions for that method.
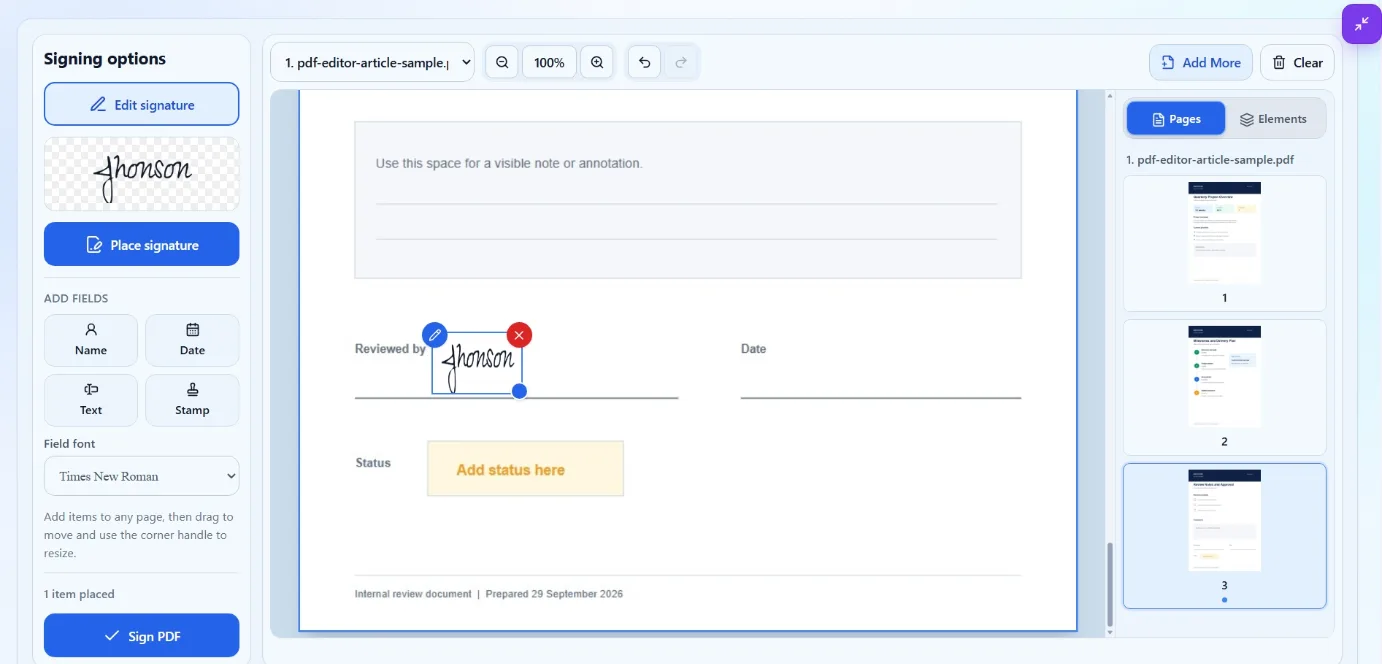
- Place the signature. Add the current signature to the active page or drag it onto the required position.
- Move and resize it. Select the placed signature, drag it into position, and use its handle to adjust its size.
- Add supporting fields. Insert a name, date, custom text, or stamp if the document requires them.
- Review every signed page. Check the page thumbnails and Elements panel to confirm that nothing is missing or placed on the wrong page.
- Create and download the PDF. Choose a clear filename, sign the document, and download the completed copy.
Option 1: Type your signature
A typed signature is useful when speed and readability matter more than reproducing your handwriting.
- Open the signature creator and select Type.
- Enter your name.
- Compare the available signature-style fonts.
- Choose a color that remains clear against the page.
- Select the preferred style and use the signature.
Test the signature against the actual document before finishing. Highly decorative fonts can become difficult to read when the signature is reduced to fit a narrow line.
Black or dark blue works well on most white documents. A lighter color may appear faint after the PDF is printed or viewed on a low-quality screen.
Option 2: Draw a handwritten signature
The drawing option lets you create a signature with a mouse, touchscreen, trackpad, or stylus. A touchscreen or stylus normally gives you better control than a mouse.
- Select Draw in the signature creator.
- Write your signature inside the drawing area.
- Use Undo if the latest stroke is incorrect.
- Use the eraser to remove part of the drawing, or clear the pad and begin again.
- Choose the signature color and save the result.
Draw at a comfortable size instead of trying to make the signature fit the final PDF line immediately. You can resize it after placing it on the page.
Option 3: Upload a signature image
If you already have a clean photograph or scan of your signature, uploading it can produce a consistent result.
The tool accepts PNG and JPG signature images. A transparent PNG usually blends into the document more naturally because it does not add a white rectangular background.
- Select Upload.
- Choose the PNG or JPG containing your signature.
- Adjust the crop area to remove unnecessary space around the handwriting.
- Confirm the cropped signature.
- Place it on the required PDF page.
How to prepare a signature image
Write your signature on clean white paper using dark ink, then photograph or scan it in even lighting. Crop close to the handwriting and check that the image is not blurred.
- Avoid shadows across the paper.
- Keep the camera parallel to the page.
- Use strong contrast between the ink and background.
- Remove personal information surrounding the signature.
- Store the image securely because it may be reused by anyone who can access it.
Place and resize the signature carefully
A signature should fit the intended field without covering nearby names, dates, instructions, or document text. After placing it, select the signature and drag it to the correct position.
Resize from the available handle rather than stretching the image in only one direction. Check the page at a comfortable zoom level so you can see both the signature line and nearby content.
If a document has several signature areas, confirm who should sign each one. A correctly drawn signature placed in the wrong field can still make the completed document unusable.
Add a name, date, text, or stamp
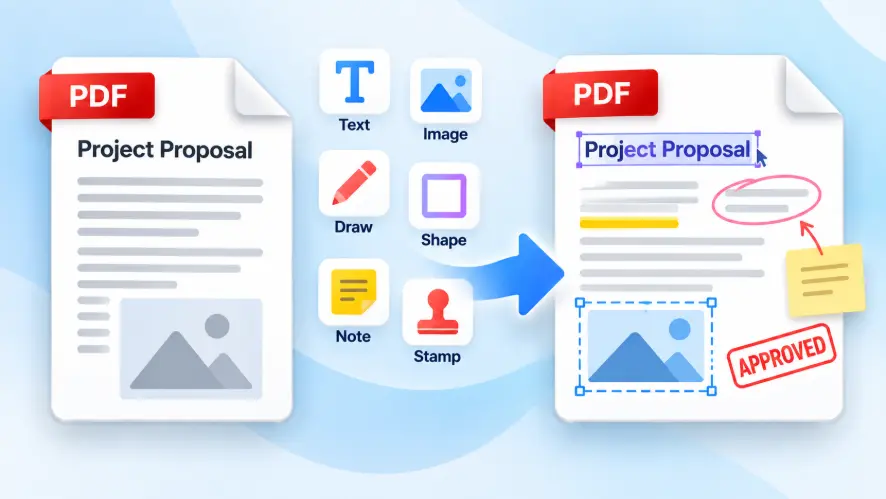
Some forms require more than a signature. The signing tool provides additional fields that can be positioned independently.
| Field | When to use it | Available controls |
|---|---|---|
| Name | Add a printed name beneath or beside the signature | Text, font, color, position, and size |
| Date | Record the signing, approval, or receipt date | Date picker and multiple date formats |
| Custom text | Add a title, reference, explanation, or short statement | Multiple lines, font, color, and alignment |
| Text stamp | Mark a document as approved, received, rejected, paid, confidential, or draft | Custom text, color, shape, border, position, size, and rotation |
| Photo stamp | Place a prepared company stamp or other approved mark | PNG or JPG upload, position, size, and rotation |
Do not add a stamp merely to make a document look more official. Use it only when the document or your workflow requires that mark.
Signing several PDF documents
You can add multiple PDFs to one signing session. This is useful when an application, agreement, and supporting form all require the same signature.
Select each document, move to the correct page, and place the required fields. Review the Elements panel carefully because every item belongs to a particular document and page.
When several documents are processed, the results are packaged together in a ZIP archive. Extract the ZIP after downloading and open each signed PDF separately to verify it.
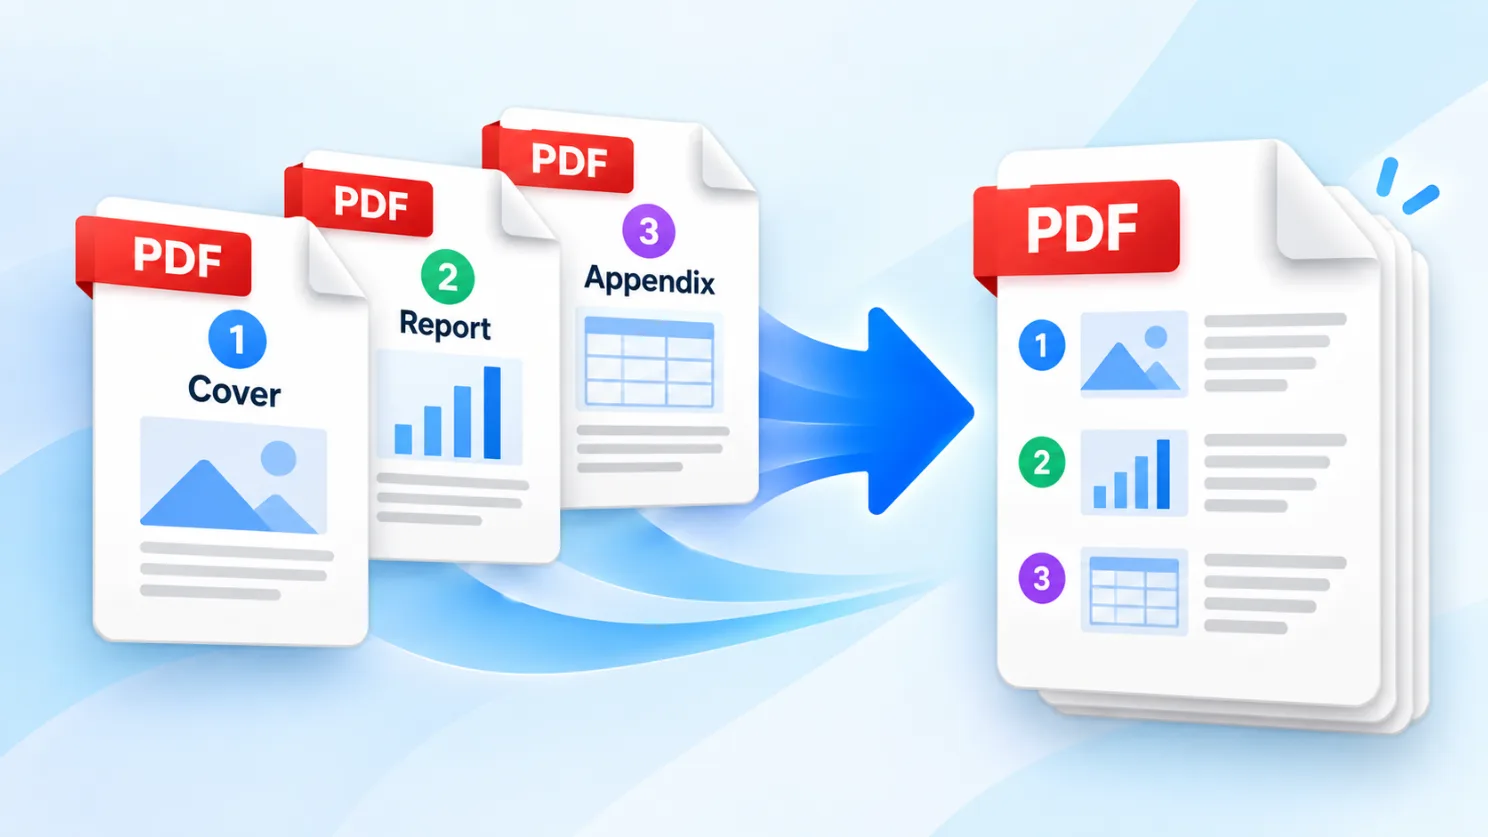
If the files need to become one continuous document instead, combine them first with the PDF Merger, arrange them in the intended order, and then sign the merged PDF.
Visible electronic signatures and digital signatures are different
The term “digital signature” is often used casually for any signature added on a screen, but it also has a more specific technical meaning.
| Signature type | What it adds | What it does not provide |
|---|---|---|
| Visible electronic signature | A typed, drawn, or uploaded signature that appears on the PDF page | Certificate-based identity verification or cryptographic tamper detection |
| Certificate-backed digital signature | Cryptographic information that can help verify the signer and whether the file changed afterward | It is not created by simply placing a visible signature image on a page |
Solvioza adds visible signature content to the PDF. It does not issue a signing certificate or create a certificate-backed cryptographic signature.
Whether a visible electronic signature is appropriate depends on the document, recipient, organization, and applicable requirements. For regulated, legal, financial, or identity-sensitive documents, confirm the required signing method with the requesting party.
Check the signed PDF before sending it
Do not rely only on the editing preview. Download the result and open it in your normal PDF reader.
- Confirm that every signature is on the correct document and page.
- Check that signatures, names, dates, and stamps are readable.
- Make sure no element covers important document text.
- Verify the date and its format.
- Check page order and orientation.
- Use a filename that distinguishes the signed copy from the original.
- Keep the untouched original until the completed document has been accepted.
If the signed PDF is too large to send, use the PDF Compressor after signing and inspect the result again. If the file contains sensitive information and needs an opening password, review it first and then use Protect PDF.
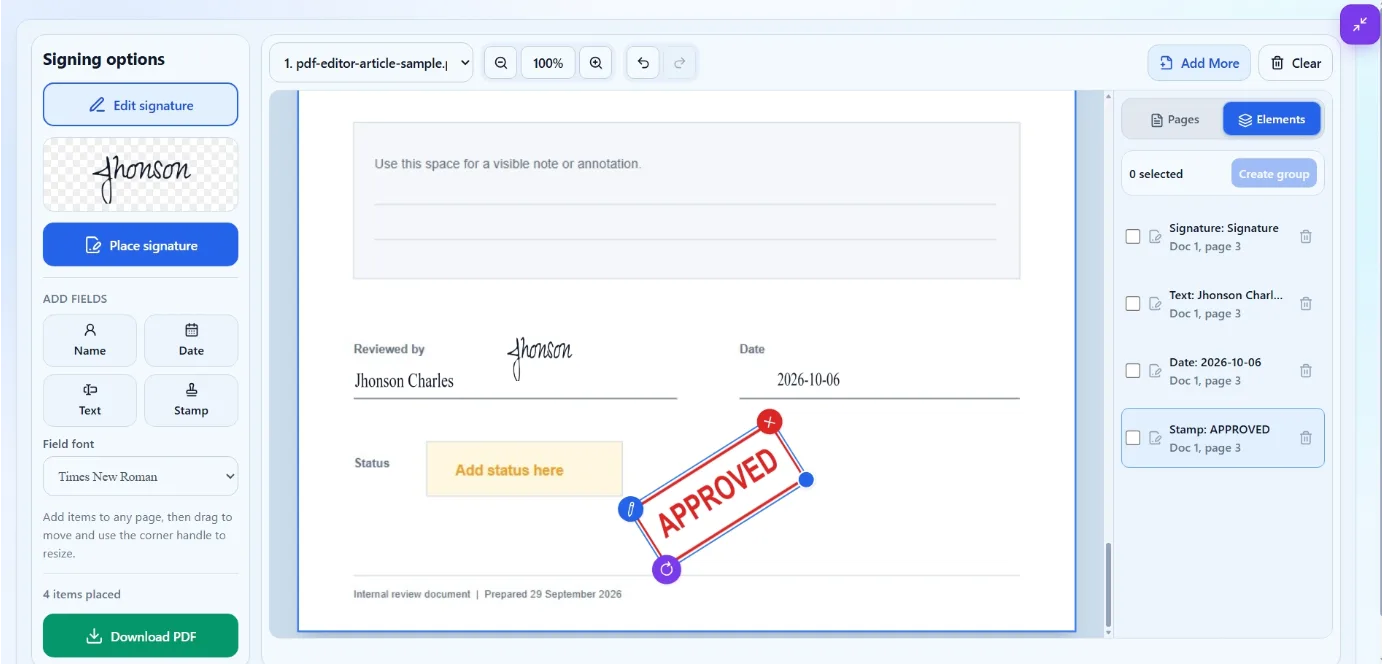
Sign the PDF without printing it
For a document that needs a visible signature, the process can remain entirely digital: create the signature, place it on the correct page, add any required date or printed name, and download a new copy.
Open the Sign PDF tool to type, draw, or upload your signature. Review the completed file carefully before sending it, and confirm whether the recipient requires a visible electronic signature or a certificate-backed signing method.