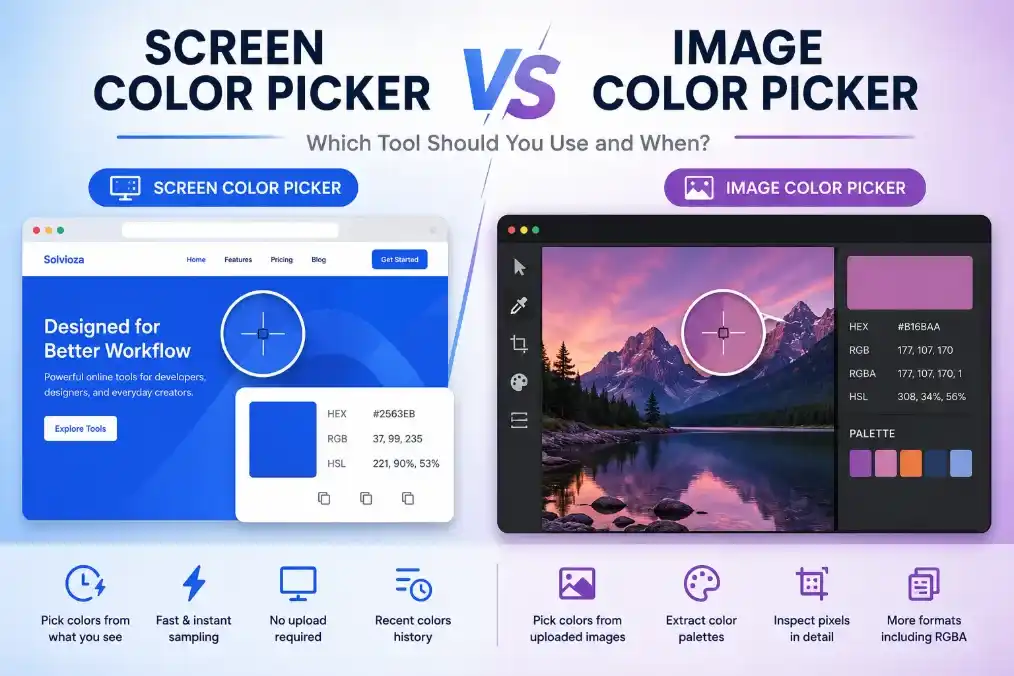
At first glance, a screen color picker and an image color picker sound like the same thing.
Both help you find exact colors. Both are useful for design, development, branding, and content work. Both save you from guessing.
But they solve two different problems.
If you pick the wrong one, the workflow feels clumsy. If you pick the right one, the task becomes almost instant.
That is the real difference.
Solvioza includes both a Screen Color Picker and an Image Color Picker, and each one works best in a different situation.
The short answer
Use the Screen Color Picker when the color is already visible on your screen.
Use the Image Color Picker when the color is inside an uploaded image file.
That sounds simple, but it matters more than people expect.
What a screen color picker does
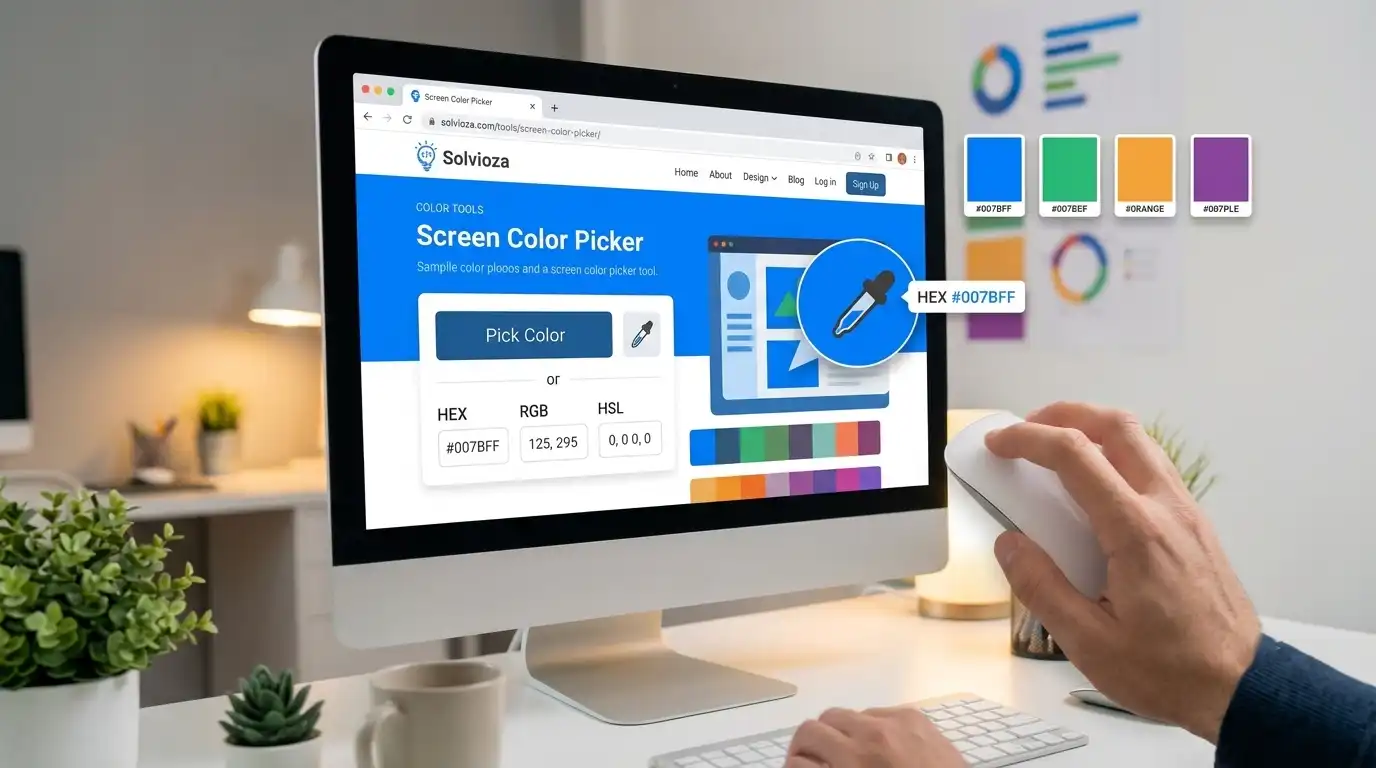
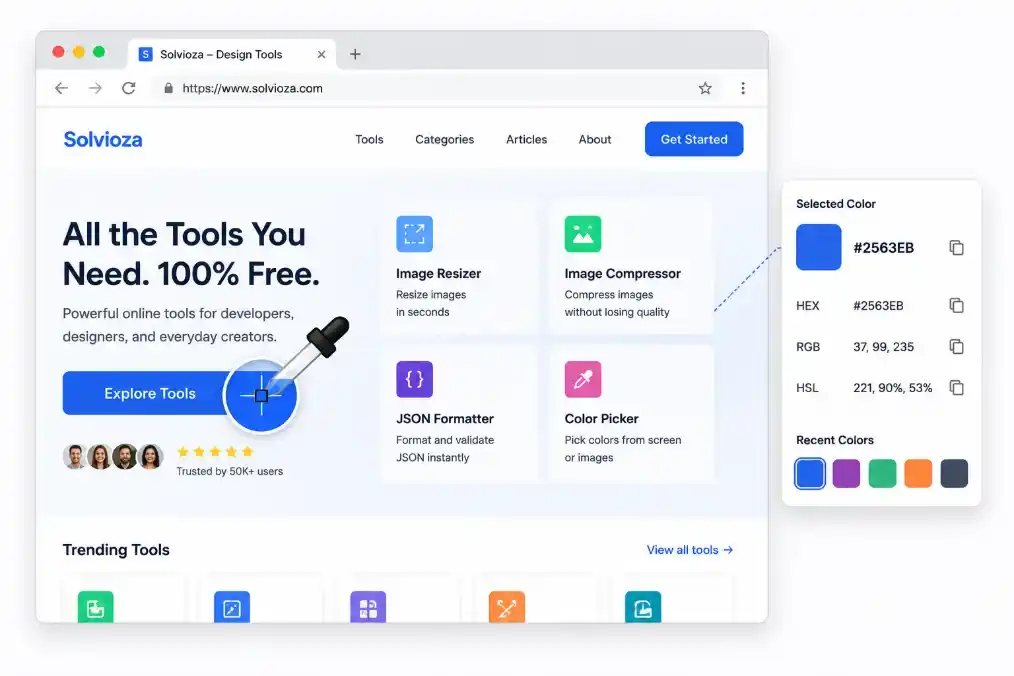
A screen color picker samples a color directly from something you can already see on your monitor.
That could be:
- a website
- a web app
- a dashboard
- a design preview
- a presentation
- a screenshot already open on screen
- content shown in another window
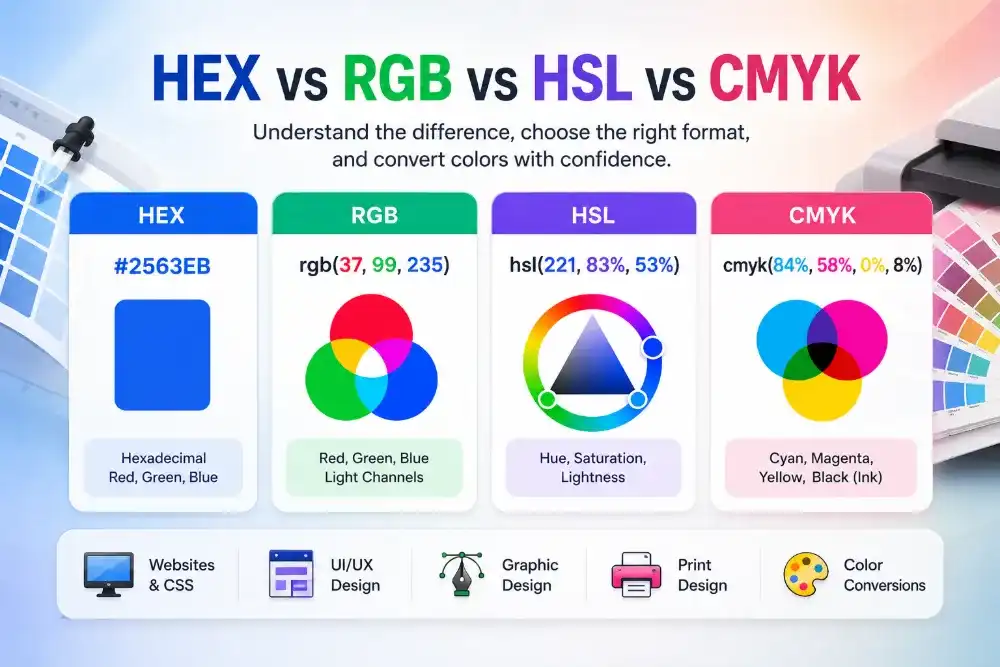
With Solvioza’s Screen Color Picker, you click the eyedropper button, move to the visible color you want, and select it. The tool then gives you the result as HEX, RGB, and HSL.
This is the faster choice when you do not want to save or upload anything first.
What an image color picker does
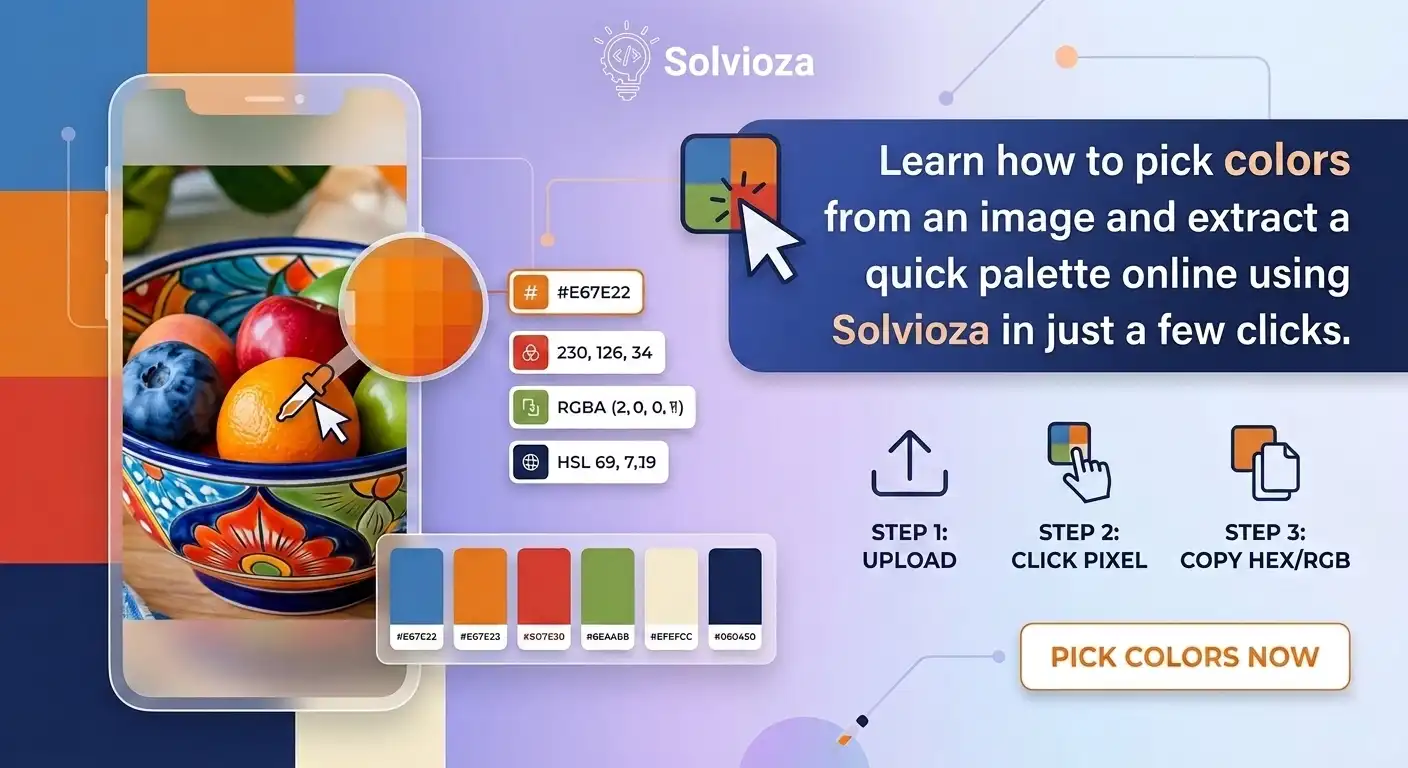
An image color picker works from a file you upload.
Instead of sampling the live screen, it samples pixels inside an image such as a JPG, PNG, or WebP.
That makes it better when you need to work from:
- product photos
- brand graphics
- uploaded screenshots
- artwork
- blog images
- downloaded assets
- social media creatives
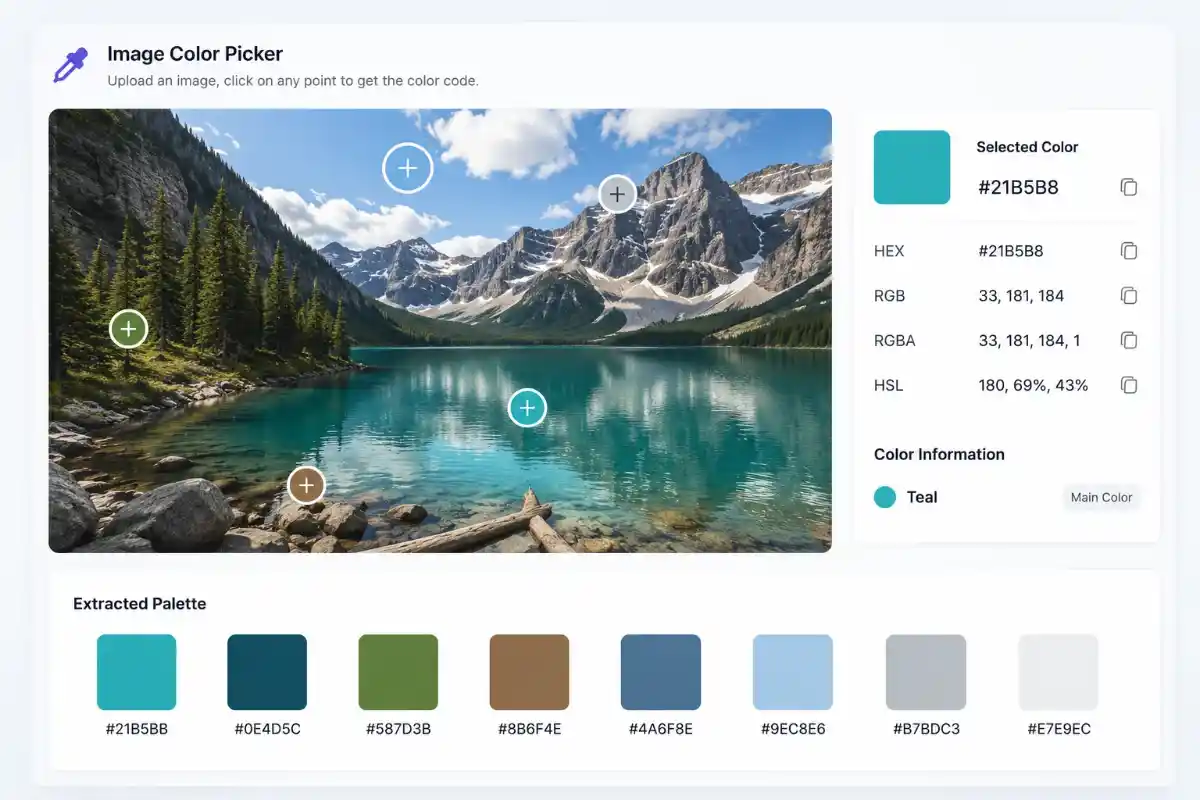
Solvioza’s Image Color Picker lets you click inside the uploaded image, inspect exact pixel colors, copy HEX, RGB, RGBA, and HSL values, and extract a simple palette from the image.
That last part matters. A screen picker is great for grabbing one visible color. An image picker is better when you want to study the image itself.
The real difference is where the color lives
This is the cleanest way to think about it.
A screen color picker is for colors that live on your current screen.
An image color picker is for colors that live inside a file.
If the color is already visible and you just want to grab it quickly, a screen picker is the shorter path.
If the color is buried inside an asset you want to inspect carefully, an image picker is the better tool.
That distinction removes a lot of confusion.
When the screen color picker is the better choice
The Screen Color Picker is the better tool when speed matters and the target is already visible.
Common examples:
- copying a button color from a live website
- matching a UI background from a web app
- sampling a brand accent from a landing page
- checking the real displayed color of a card, badge, or border
- comparing visible interface colors during a redesign
This workflow is especially useful for developers and designers working directly from live pages.
You do not need to export a screenshot first. You do not need to upload anything. You just pick the color and move on.
When the image color picker is the better choice
The Image Color Picker is stronger when you need control.
For example:
- you want a color from a product photo
- you need to sample multiple small areas inside an uploaded image
- you want to compare nearby shades
- you need a quick extracted palette
- you want to work from a saved asset, not a live screen
This is also the better option when the image needs preparation before sampling. If the file is cluttered, you can isolate the useful area with the Image Cropper. If it is oversized, you can reduce it with the Image Resizer first.
That makes the image workflow cleaner and more deliberate than live screen sampling.
What the screen color picker cannot do as well
A screen color picker is convenient, but it is not ideal for everything.
It is not the best tool when:
- you need to upload and inspect a file closely
- you want palette extraction from an image
- you need RGBA values from image sampling
- you want to click around one image repeatedly in a stable workspace
- the color is inside an asset that is not currently visible on screen
It also depends on browser support. Solvioza’s screen tool uses the browser EyeDropper feature, so it works best in supported desktop browsers such as Chrome and Edge.
If the target color is hidden in another tab, switching tabs can cancel the picker. For smoother use, keep the target visible in split-screen, another browser window, or on a second monitor before starting the pick.
What the image color picker cannot do as well
An image color picker is more controlled, but it is slower for live work.
It is not the best choice when:
- you just want one color from a live page
- the color is already visible in front of you
- you do not want to save or upload anything
- you are checking interface colors during active browsing
If the source is already on your screen, uploading it first adds a step you probably do not need.
That is exactly why both tools deserve to exist.
A side-by-side comparison
| Feature | Screen Color Picker | Image Color Picker |
|---|---|---|
| Source | Live visible screen content | Uploaded image file |
| Best for | Quick on-screen sampling | Detailed image-based sampling |
| Upload needed | No | Yes |
| Color formats | HEX, RGB, HSL | HEX, RGB, RGBA, HSL |
| Palette extraction | No | Yes |
| Recent colors | Yes | Yes |
| Best use case | Websites, apps, UI, live references | Photos, graphics, downloaded assets |
If you only remember one part of this article, make it that table.
Which tool should you use for web design work?
For web design, the answer depends on the stage of work.
If you are inspecting an existing live interface, start with the Screen Color Picker. It is faster and matches the reality of what users actually see.
If you are building from brand assets, product photos, or uploaded creative files, use the Image Color Picker.
A practical workflow often looks like this:
- Use the screen picker to capture colors from live UI references.
- Use the image picker to pull colors and palettes from uploaded visuals.
- Use both results to shape a more consistent design system.
That combination is more useful than treating them like competing tools.
Which tool is better for branding work?
For branding, the image color picker often has the edge.
That is because branding work usually involves logos, product images, campaign graphics, and creative assets where palette extraction matters. The Image Color Picker gives you more flexibility there.
But the screen picker still matters when you need to audit how brand colors appear on the live site or product.
This is one of those cases where the better question is not which tool wins.
It is which step am I in.
Which tool is better for one exact color?
If all you need is one exact color from something already visible, the Screen Color Picker is usually the better choice.
It is shorter. It is faster. It removes unnecessary steps.
If that one exact color is inside a saved image file, then the Image Color Picker becomes the right tool instead.
So even here, the answer depends on the source, not just the goal.
A practical rule that keeps this simple
If you can already see the color on your screen, use the screen picker.
If you have to open, upload, inspect, or analyze an image file, use the image picker.
That rule is simple enough to remember and accurate enough to trust.
A natural next step
Once you start using both tools correctly, the workflow feels cleaner.
Live interface color? Use the Screen Color Picker.
Uploaded image color or palette? Use the Image Color Picker.
And if the uploaded image needs cleanup first, the Image Cropper and Image Resizer help before you start sampling.
That is really the point of this comparison: not just knowing the difference, but knowing which tool gets you to the answer faster.